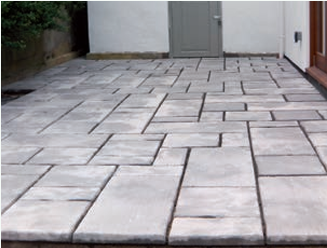
Patio Construction
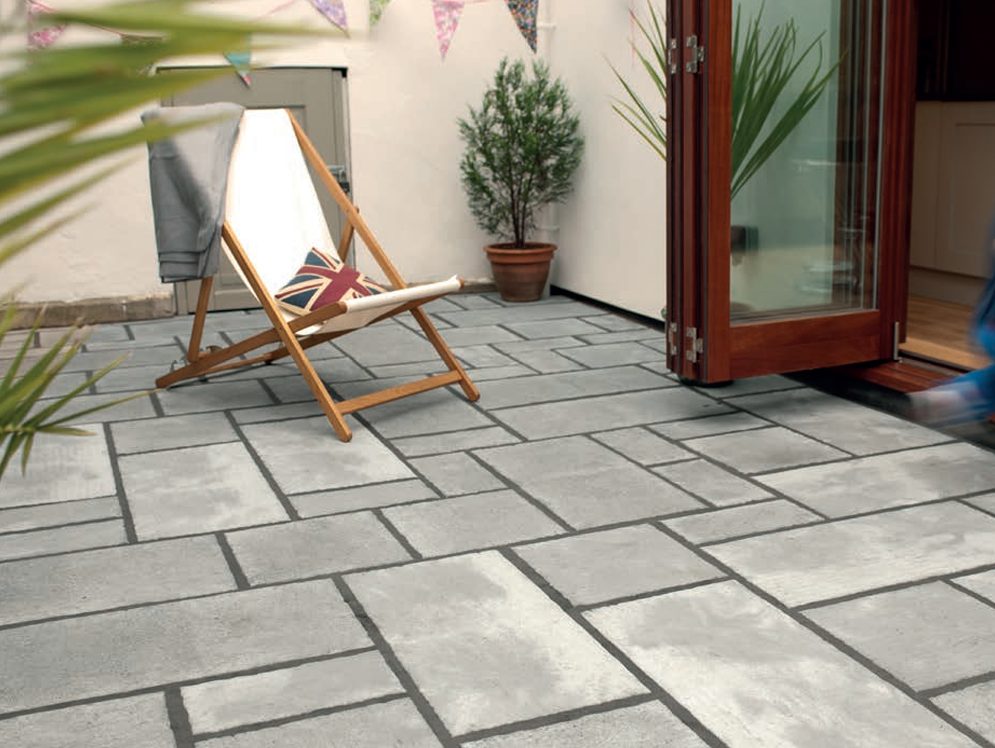
Here are all the Do’s and Don’ts to help with your Patio Construction
Step 1 (Planning)
Decide where you want to lay your new patio. First sketch out the area to be paved, showing all dimensions. Include in the drawing items such as drains, height of damp proof course, the slope or fall of the area and any other constraints e.g. walls, lawns, steps etc. Visit Bowland Stone or your nearest stockist to create your laying guide using the Bowland Stone Patio Generator.
Step 2 (Preparation)
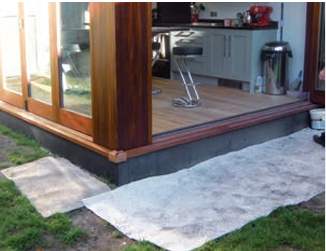
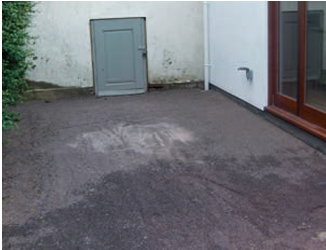
The area to be paved must be firm and compact to avoid any subsidence. If necessary dig out any soft soil and replace with crushed stone preferably with a high dust content. The level of the ground at this stage should be approximately 55mm to 80mm below the final level of the paved area. Poor drainage or installing paving onto an existing concrete/paved base can lead to high levels of moisture underneath the paving. This may result in discolouration/staining on the surface of the paving due to absorption of trapped water.
Step 3
At this stage as well as a trowel and shovel, a spirit level will be needed at least the length of the longest slab that is to be laid. Determine the quantities of sand and cement required for ‘bedding’ the slabs on. As a guide the bed should be between 15mm and 40mm thick and mixed in a ratio of 4 parts sand to 1 part cement, (mixed together in manageable quantities either by hand or a small mechanical mixer). Decide where to lay the first slab, this is usually a corner slab and probably at the highest point. In most cases a slope of 1:100 is adequate to enable surface water to fall away from the house. It very often helps to use string and mark out the area, which helps to keep the joints at 90 degrees to each other. Continue laying your patio following your laying guide. We recommend that all paving is laid on a full mortar bed.
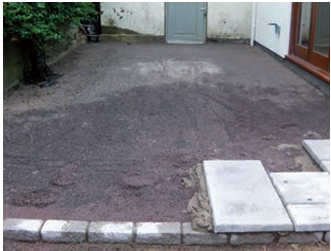
Step 4
The method of laying should be such that each slab must not bear any weight for at least one day. Care should also be taken to ensure that cement is kept off the surface of the paving as it can cause staining. The exact position of each slab should be achieved first time. To do this, do not apply excessive force on the slab but check with a spirit level and apply gentle pressure until the exact position is found. It is best to lay full slabs first and then cut any odd shapes and sizes that may be needed.
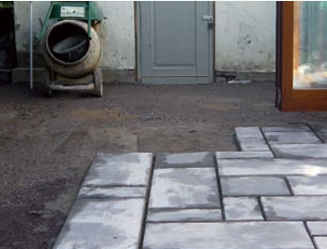
Step 5
Unlike all the previous stages, grouting can only be done on a dry day*. Building sand should be used, mixed at a ratio of 5 parts sand to one part cement. (*Alternatively use a jointing compound which requires water & can therefore be used during inclement weather). Bowland Stone colour additive can be used to complement or contrast the overall appearance. The total quantity should not exceed one bucket of grout at a time. With the use of either a bricklayers pointing trowel or pointing tool, push the mix into the gaps to form a uniform surface to the pointing ensuring that it is kept slightly below the surface of the paving. Excess mix should be swept aside and re~used but do not brush it over the slabs until the mix has become dry. It is essential that the mix is moist but not wet to prevent the possibility of staining.